
If you read our landscaping post, you know that we’re all about finishing the outside of our home right now. Now the landscaping is complete, we have shimmied over a couple of feet to the front door area.
The house number and mailbox we currently have are probably original to the house. Considering the house was built in the 1950’s, you could say they are now vintage. I think people tend to think something so small as a house number isn’t really a big deal, but let me tell you, it can make a HUGE difference in your curb appeal. For a little bit of effort, you can make a big impact in a small way.
This is what our house number currently looks like. I mean, its okay, but it doesn’t scream 2013.

So I started doing some research on what I wanted my front area to look like. I stumbled upon the term “architectural house number plaque.” What I saw of the plaques, I really liked. What i saw that I did NOT like were the prices. Plaques like these (pictured) start at about $120 and can go up into the HUNDREDS. Yes, I said hundreds. For a plaque. That numbers your house. So people can find it. I don’t get it. Why so much?

So naturally I said to myself, “Jackie, I challenge you to make this!” Challenge accepted. Here begins the steps to making your very own architectural house number plaque.
For this project you will need:
- Metal house numbers
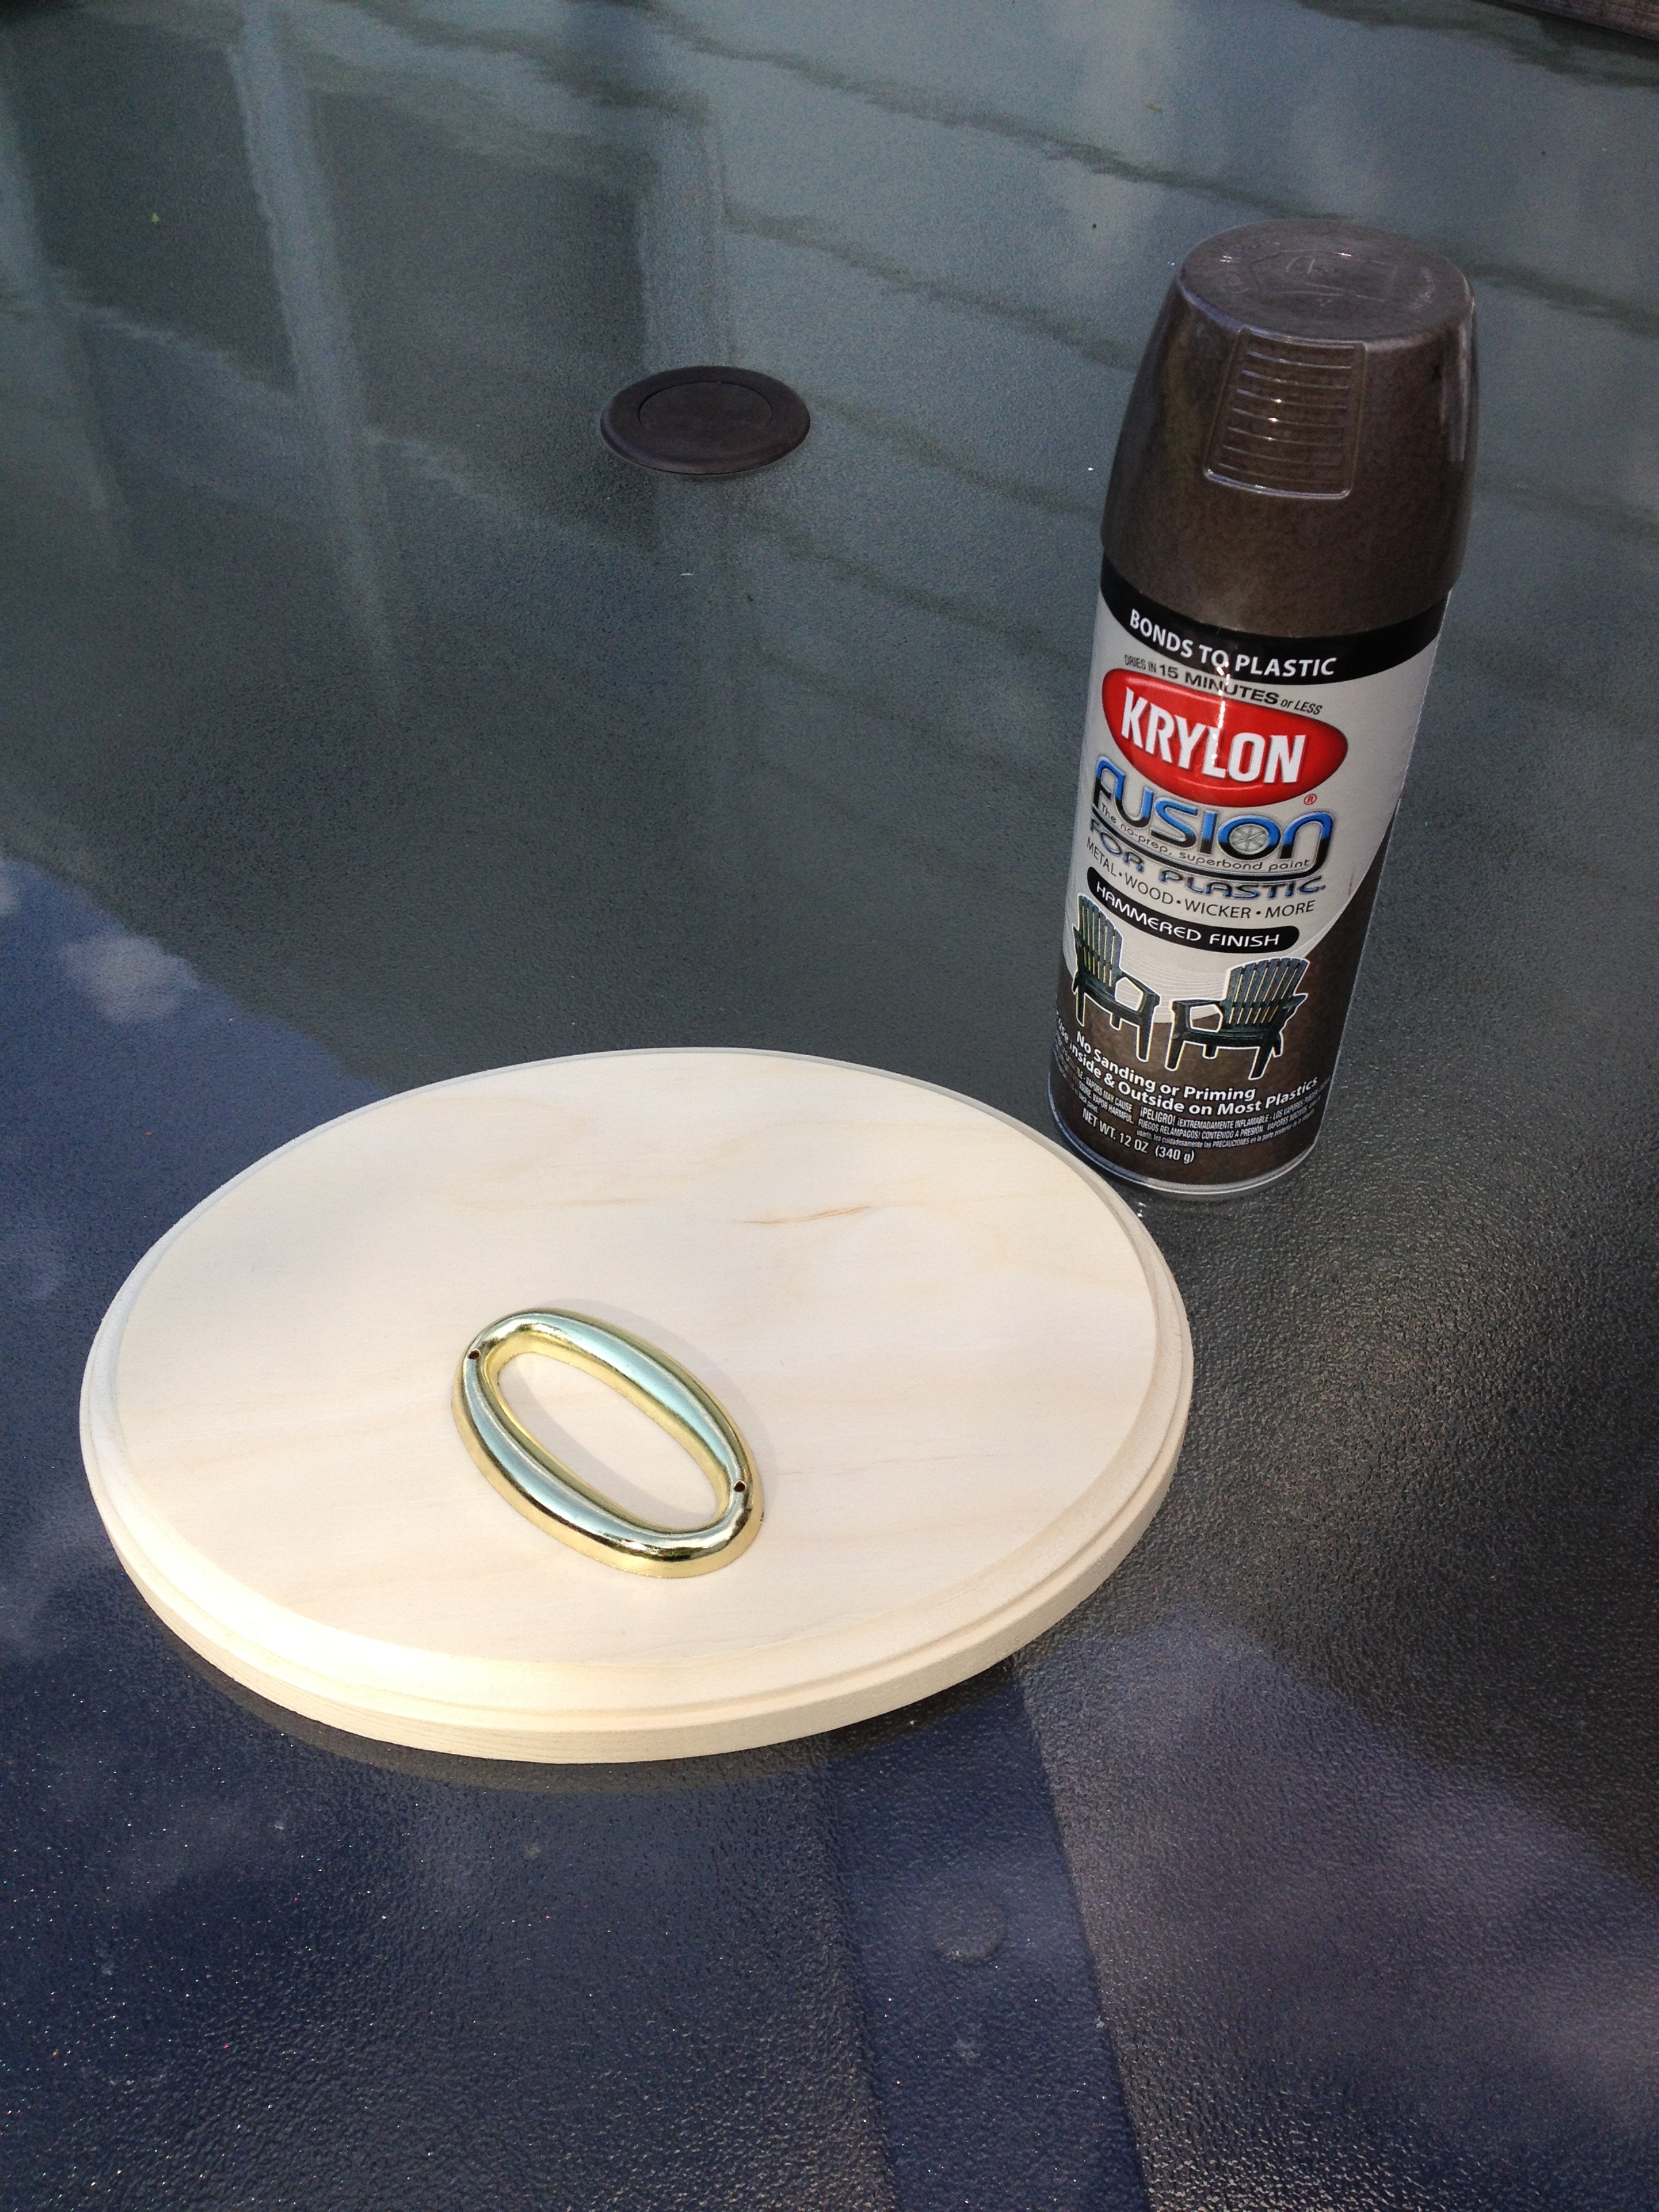
- A wood plaque (Got mine at JoAnn fabrics )
- 2 coordinating colors of paint
- modge podge OR polycrylic
- sandpaper
- screws
- paint brush(es)
- a hammer
- a screw driver
A couple of my friends and I made a trip out to Buffalo ReStore to take a look and I found metal house numbers. Score! At 50 cents each I couldn’t go wrong. Plus, my purchase supported the habitat for humanity AND I was reclaiming something so it was a win win! As I said in my “what you will need” section, I got the 7×9 wood plaque from JoAnn Fabrics. It was in the wood section already cut and ready to go, on sale for $2.30. They had a bunch of styles to choose from, but I liked the oval the best. I already had the paint, polycrylic, and tools from other projects I have worked on in the past. So for me, the total cost of this project was about $4. If you had to buy paint, I would get the small little bottles at your local craft store that go anywhere from $.60 to $1.50 each. You don’t need much!
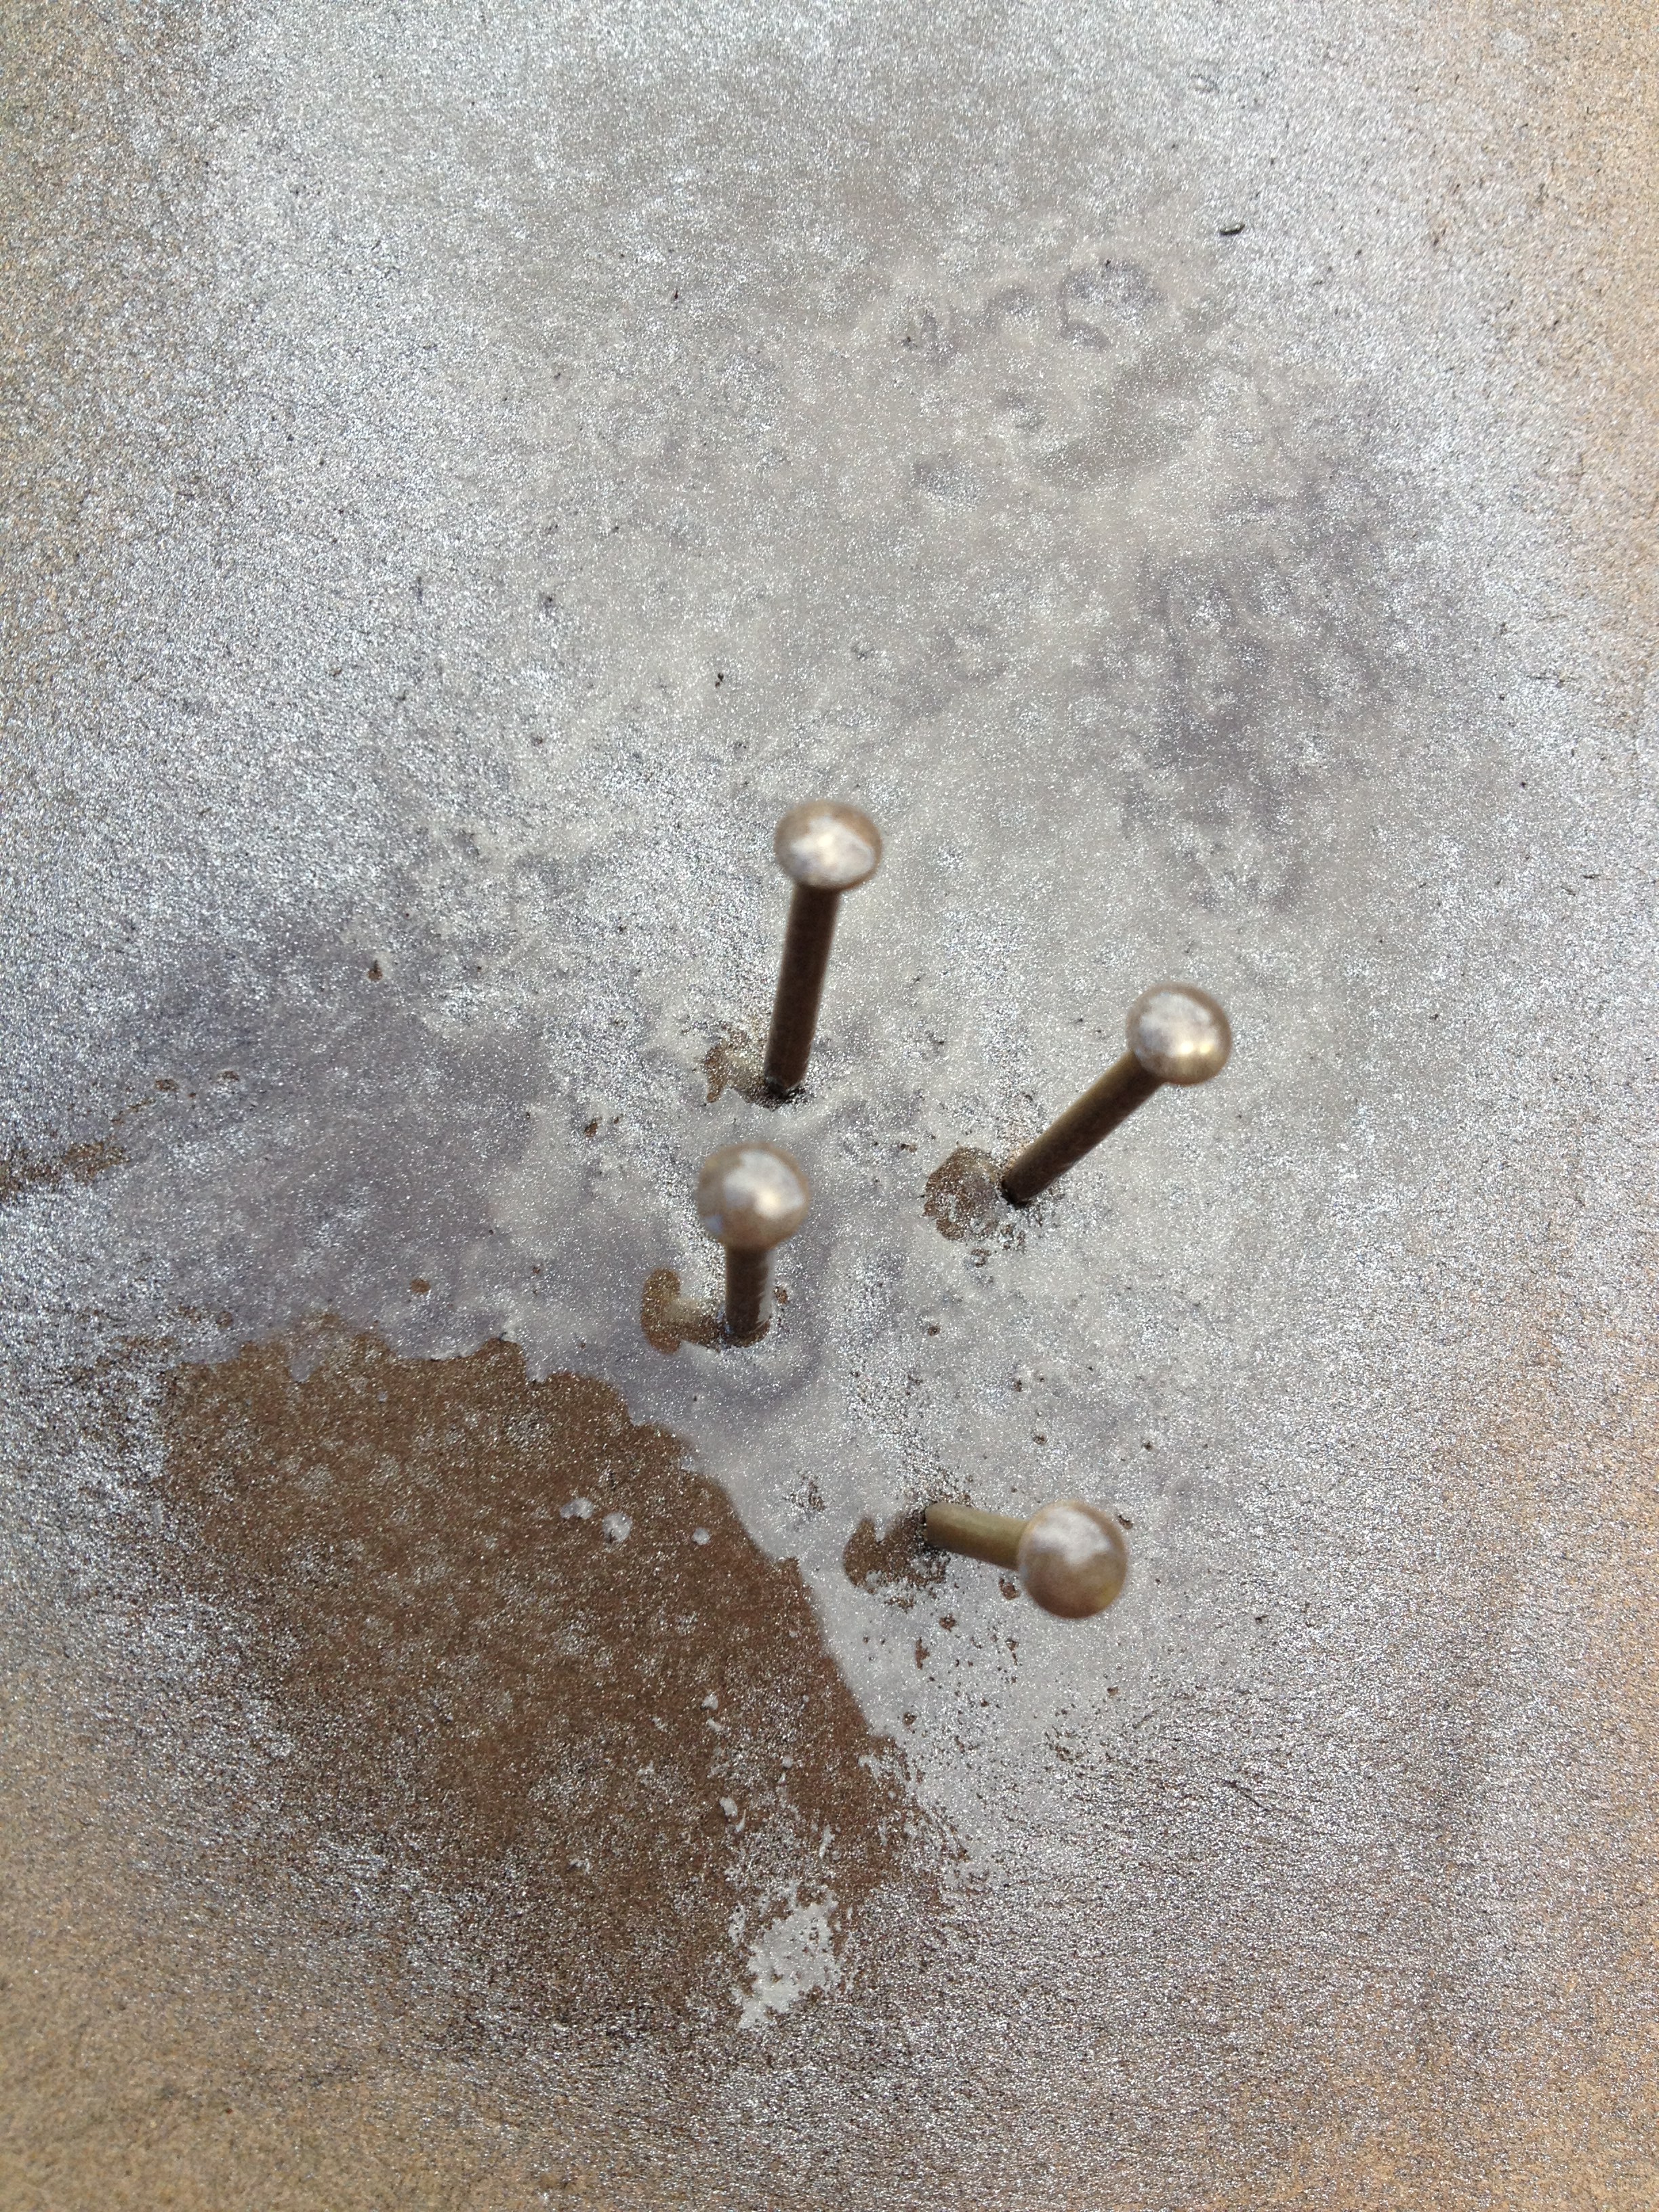
First step, paint! Like the plaque that says “65” shown above, I wanted a similar color scheme. I started by scuffing up the metal numbers with some sand paper and spray painted them with a nice deep brown color. I used the same color to paint the outside of the plaque to match so it could be two toned. (Tip: When you are painting something with nails/screws make sure you paint them as well! I find that sticking them into cardboard works well because they can get an even coat of paint and dry evenly.)
Once your plaque is dried with the first coat of paint, Go over it with the second color. I chose black and used a smaller angled paint brush so that I could be precise when I was going around the edges.
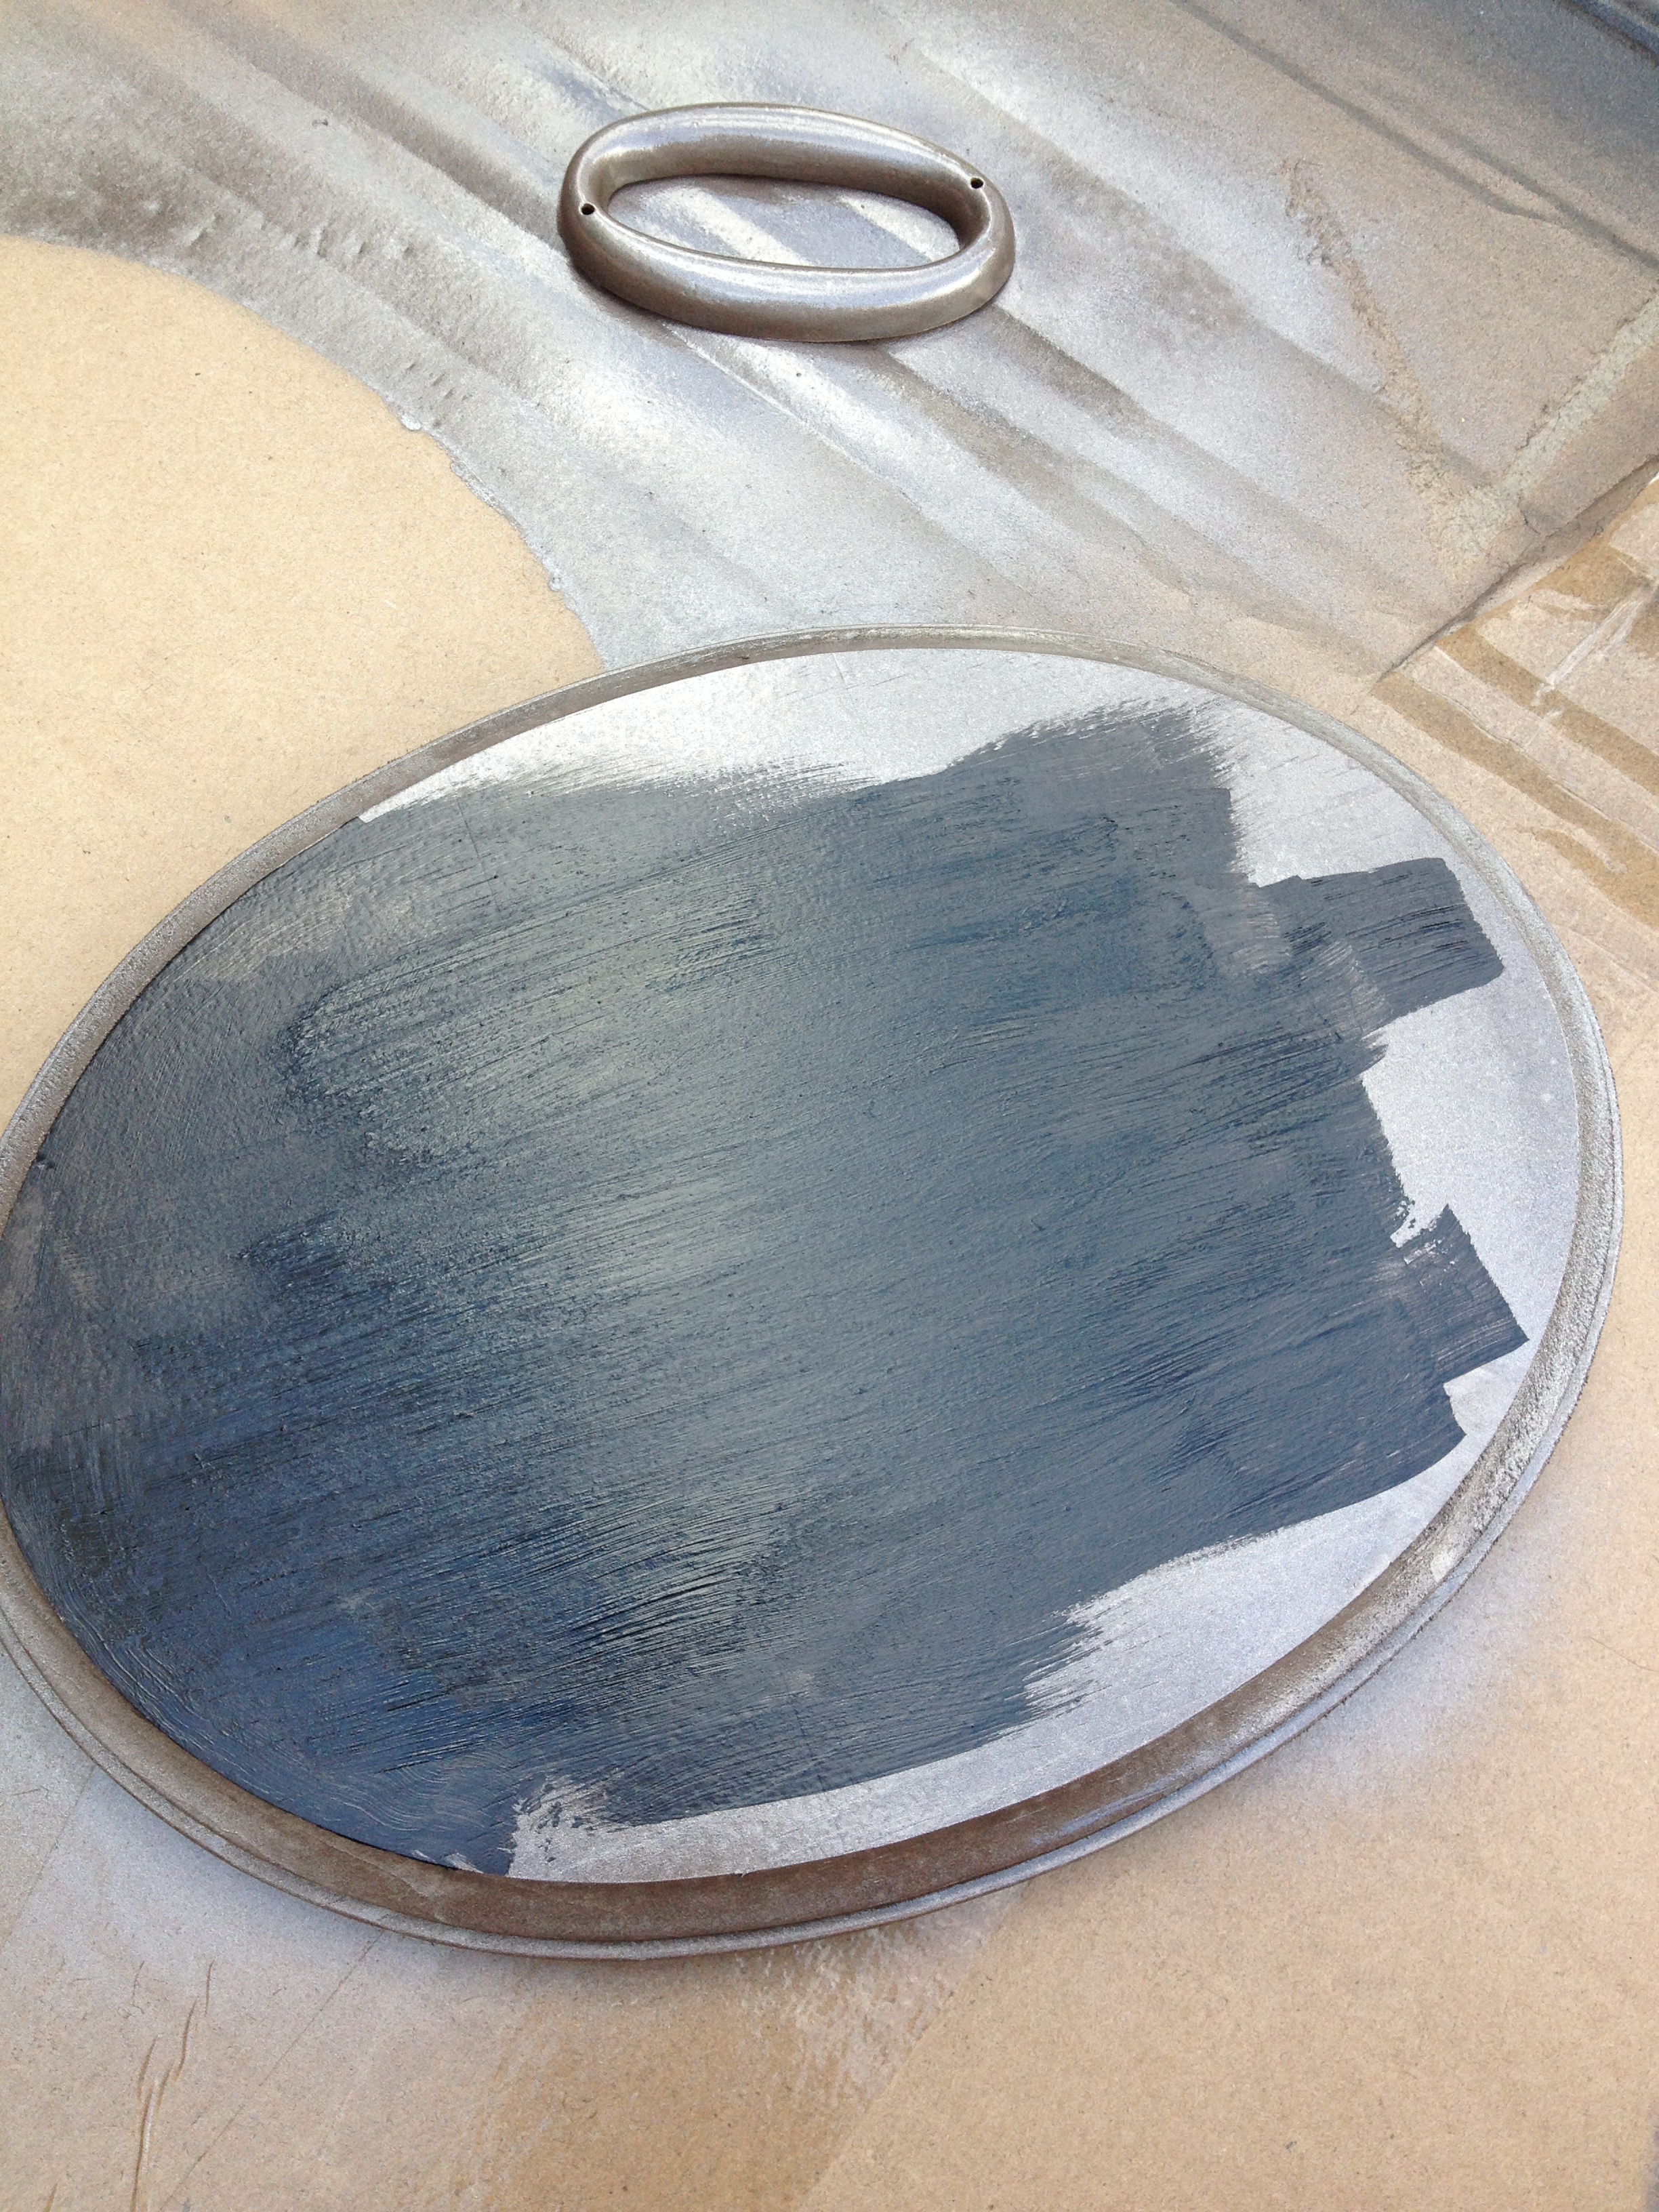

Let your paint dry completely. You don’t have to sand, but I used (VERY LIGHTLY) a fine sand paper to go over the black because I didn’t want it to look stark.
Now its time to cover the plaque with a clear coat so that it can stand the test of time! I used minwax polycrylic to cover it, but I believe something like modge podge would work as well.


Hammer time! Take your numbers and hammer them into the wood. If you’re using a regular metal headed hammer, make sure you put a piece of fabric or paper towel between the nails and the hammer so the paint doesn’t brush off. I used my upholstery hammer because it has a rubber head. You should measure to make sure its exact, but I’m the queen of “eye-balling” it, so I’m going to glaze over that step. 🙂

At this point you should have something that looks like this! All ready to hang and look beautiful. We are going to hang it once we get our new mailbox and shutters. Stay tuned!

Any questions or comments about this DIY project? Post them below!